ARTICLE
How to spring clean your Small Kitchen Appliances
Published Jul 10, 2025 • Updated May 4, 2026 - 5 min read
Spring cleaning your small kitchen appliances helps them perform better, last longer and stay safer to use. This guide covers the easiest ways to clean kettles, toasters, microwaves and coffee machines, plus the one thing to always check before you start, your appliance manual.
Key takeaways from this article
Always unplug appliances first and follow the manufacturer’s cleaning instructions.
Use vinegar or baking soda to tackle limescale, grime and stubborn build-up.
Empty crumbs, wash removable parts and clean toaster slots with a soft brush.
Steam, wipe and deodorise microwaves, including the turntable and vents.
Descale coffee machines regularly to protect flavour and keep brewing smooth.

A well-maintained kitchen is the heart of a healthy and happy home. Spring cleaning isn't just about dusting corners and organising shelves – it's also the perfect time to give some TLC to your trusty small kitchen appliances. From air fryers that sizzle with flavour to kettles that whistle for your morning tea, we've got you covered on how to spruce up your kitchen essentials and keep them in tip-top shape.
You might also like ...
You Missed A Spot! Common Cleaning Mistakes To Avoid
The No-Work Guide To Housework - The Good Guys
Total Wipeout: How To Spring-Clean Your Major Appliances
Tailoring your cleaning to your appliance's needs
While this guide offers an overview of spring cleaning for your small kitchen appliances, it's essential to note that every appliance is unique. We recommend always referring to the instruction manual provided by the manufacturer for specific cleaning and maintenance guidelines. Manufacturers often include valuable insights into the best practices for cleaning, ensuring optimal performance and longevity. Whether it's a specialised cleaning solution for your coffee machine or a particular method to clean the interior of your microwave, the manual will be your trusted companion.
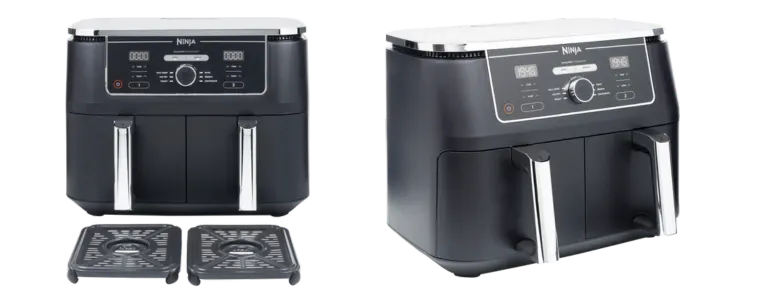
Shop Air Fryers
Tefal Easy Fry Max Air Fryer Black
Russell Hobbs 8 Litre Satisfry Extra Large Air Fryer
Ninja Foodi Max XXXL Dual Zone Air Fryer
How to clean Kettles
A steaming cup of tea or coffee can brighten any day. Make sure your kettle is ready to deliver that soothing hot beverage with these simple cleaning steps:
Empty and Unplug: Empty any water that might be lingering in your kettle and unplug it from the power source.
Vinegar Magic: Fill the kettle about halfway with equal parts of water and white vinegar. Let this solution sit for an hour to help break down mineral deposits that might have built up over time.
Boil and Rinse: After the vinegar solution has sat, bring the kettle to a boil. Once it has boiled, let it sit for another 15 minutes. Then, carefully pour out the solution and rinse the kettle thoroughly with clean water.
Wipe Down: Use a damp cloth to wipe down the exterior of the kettle, including the handle and the spout.
Scale Removal: For any remaining scale or mineral deposits on the inside of the kettle, create a paste with baking soda and water. Gently scrub the interior with this paste using a non-abrasive brush.
Final Rinse: Fill the kettle with clean water and bring it to a boil once again. This will help remove any residual vinegar or baking soda from the kettle.
Shop Kettles
Kambrook Pour With Ease 1.7 Litre Kettle
Breville Crystal Clear Glass Kettle

How to clean Toasters
Ah, the trusty toaster – the kitchen hero that turns ordinary slices of bread into crispy, golden delights. As you embrace the spirit of spring cleaning, don't forget to give your toaster the attention it deserves.
Unplug and Cool Down: Safety first. Before diving into cleaning, unplug your toaster and let it cool down to room temperature.
Shake Out the Crumbs: Give your toaster a gentle shake over your bin to dislodge any crumbs that might have taken refuge inside. Clearing these out will not only keep your toaster clean but also prevent any unwanted odours.
Crumb Tray Detox: Many toasters feature a removable crumb tray located at the bottom. Take it out and give it a good wash in warm, soapy water. Dry it thoroughly before placing it back into the toaster.
Exterior Elegance: Use a damp cloth to wipe down the exterior of the toaster, making sure to clean buttons, knobs, and any other surfaces that might have caught a few splatters.
Tackle Nooks and Crannies: Toasters can be surprisingly tricky to clean thoroughly due to their slots and crevices. Employ a small brush, like an old toothbrush, to gently whisk away any crumbs hiding in these tight spaces.
Handle with Care: While it might be tempting to insert utensils into the toaster slots to clean them, it's crucial to avoid this practice, as it can damage the heating elements or even pose a safety risk.
The Final Touch: Once you've wiped, brushed, and cleared away all debris, plug in your toaster and do a quick test run to make sure it's working as it should. It's a great way to ensure everything's in top-notch condition.
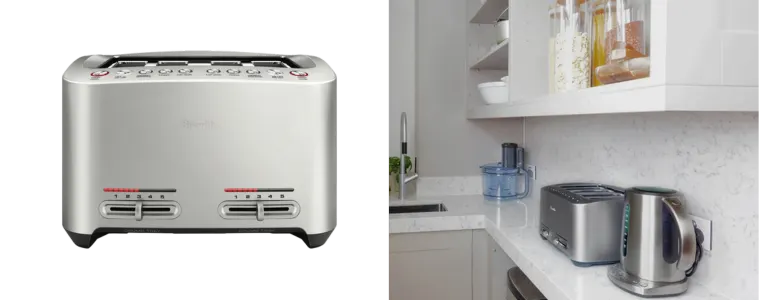
Shop Toasters
Sunbeam Fresh Start 4 Slice Toaster
Kambrook Perfect Slice 2 Slice Toaster
Breville The Smart Toast 4 Slice
How to clean Microwaves
Microwaves are the unsung heroes of busy kitchens, heating up leftovers and whipping up quick snacks. Give yours a thorough clean to ensure it remains a reliable companion:
Deodorise: Place a microwave-safe bowl filled with water and a few slices of lemon or a tablespoon of baking soda inside the microwave. Heat on high for a few minutes until the steam saturates the interior. This will help eliminate odours and soften any stuck-on food.
Wipe and Scrub: Once the microwave has cooled down, use a damp cloth to wipe down the interior, including the turntable and the walls. For stubborn stains, make a paste using water and baking soda, and gently scrub the spots away.
Remove and Clean the Turntable: Take out the turntable and wash it in warm, soapy water. If your microwave has a roller ring, give it a wash too.
Exterior Love: Don't forget the exterior! Wipe down the outside of the microwave, paying attention to the control panel and the handle.
Vent Cleaning: Check the vents for any dust or debris that might have accumulated. Use a soft brush or a vacuum cleaner attachment to gently clean these areas.
Shop Microwaves
LG NeoChef 25L 1000W Inverter Black Microwave
Sharp 32L 1200W Flatbed Microwave

How to clean Coffee Machines
Your morning ritual wouldn't be complete without your trusty coffee machine. Make sure every cup starts off right by keeping your coffee machine spick and span:
Empty and Unplug: Start by emptying any remaining coffee grounds or water from the coffee machine and unplugging it.
Run Steam: If your coffee machine allows it, run a short burst of steam through the milk wand without any milk. This can help flush out any remaining milk particles and sanitise the wand with the heat.
Descale: Follow the manufacturer's instructions to descale your coffee machine. This process helps remove mineral build-up and ensures a smoother brewing process.
Wipe Down: Use a damp cloth to wipe down the exterior of the coffee machine, including the control panel.
Flush with Water: Run a cycle of water through the coffee machine without any coffee grounds to rinse out any remaining traces of cleaning solution or descaler.
Shop Coffee Machines
Breville The Barista Espresso Coffee Machine
De'Longhi Magnifica Evo Fully Automatic Coffee Machine Titan

With these simple yet effective steps, your small kitchen appliances will be gleaming, ready to provide you with outstanding performance and delectable dishes. Spring cleaning isn't just about tidying up your living space; it's also about nurturing the tools that contribute to your culinary creations. Shop in-store or online for all your small kitchen appliances and don’t forget to check out our Spring Cleaning page for more tips and advice!