ARTICLE
How To Clean A Robot Vacuum (RoboVac)
Published Mar 16, 2026 • Updated May 4, 2026 - 5 min read
Keeping a robot vacuum in top shape comes down to simple, regular cleaning of the bin, brushes, sensors and contacts. If you know when to do a quick reset, a deeper clean, and when to replace worn parts, you can keep pickup strong and avoid docking or navigation issues.
Key takeaways from this article
Empty the bin, clear brush tangles and wipe sensors after every run.
Use the manual to confirm whether filters are washable and how long they need to dry.
Pet homes usually need more frequent brush and filter cleaning to keep performance up.
Replace worn parts, and stop using the robot if water or damage has reached the internals.
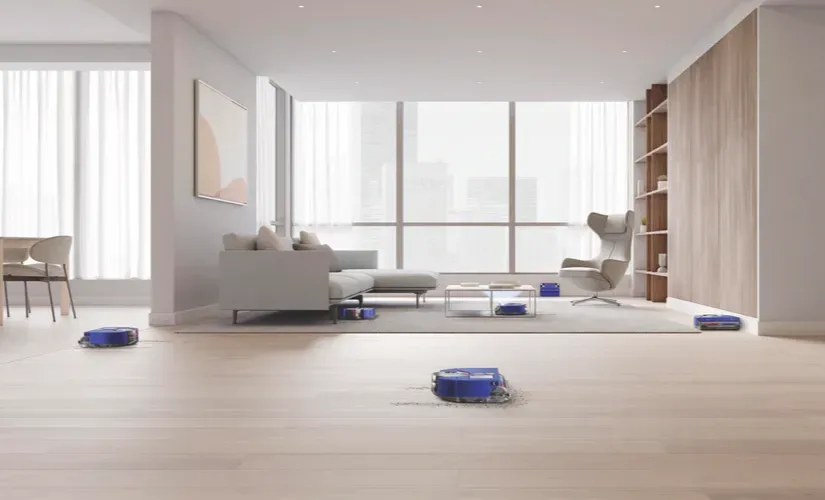
Robot vacuums save busy households a lot of time, but performance drops quickly when filters clog, brush ends get wrapped in hair, or sensors go dusty. User guides across major brands tie poor pickup, navigation issues, docking trouble and noisy cleaning to the same everyday culprits: full bins, blocked air paths, tangled brushes, dirty wheels and dirty contacts.
So if you're wondering how to clean a robot vacuum cleaner without damaging it, this is the guide for you!
Key Takeaways
Power down first, and unplug the dock before cleaning around contacts or moisture.
After every run, empty the bin, clear hair from brushes, and wipe contacts and sensors.
Filter care varies by brand, so never assume a filter is washable; always check the manual and dry washed parts for approximately 24 hours.
Pet homes usually need more frequent brush and filter cleaning.
Water, unapproved tank cleaners and unauthorised repairs are all red flags!
This guide is written for Australian households, including pet owners, and it covers a quick after-run reset, weekly maintenance, monthly or quarterly deep cleaning, water-exposure recovery, troubleshooting, and when it makes more sense to replace a part than keep cleaning around the problem.
If you’re still comparing options, browse our huge range of robot vacuums here, learn what is a robot vacuum, explore robot mops, or shop the wider vacuums and cleaners range.
Safety & Tools Before You Start
Before you clean robot vacuum cleaner parts, always remember to switch the unit off, take it off the dock and unplug the base if you’ll be cleaning near moisture or handling the charging contacts. If your model has a removable battery, only remove it if the manual tells you to.
Keep your cleaning kit simple: a dry microfibre cloth, a second slightly damp cloth, cotton buds for corners, tweezers for wrapped hair, a small screwdriver for side brushes that are screwed in, the cleaning tool that came with your robot, and replacement filters, bags, brushes or mop pads if you already have them.
Use the mildest cleaning methods that will do the job. Many Roomba filters are non-washable, while some ECOVACS, Roborock and Dreame filters can be rinsed if the manual says so. For removable tanks or certain dock parts, a little mild soap may be allowed on some models, but mopping systems are stricter: Roborock and iRobot both warn against unapproved cleaning solutions in the water tank, and Dreame manuals warn against adding alcohol or disinfectant to the clean-water tank. When in doubt, stick to clean water for washable parts and brand-approved solutions only where the manufacturer specifically allows it.
Dry time matters. Dreame and Roborock both advise roughly 24 hours of air-drying for washed filters before reinstallation, and Dreame also says the dustbin and filter should only go back in when completely dry. After any moisture accident, do not restart the robot until every accessible part is fully dry.
Routine Cleaning After Every Run
The quickest way to stop small problems becoming bigger ones is a quick reset after each clean.
Start with the dustbin. Remove it carefully, empty it over the rubbish bin and check whether debris has packed around the filter frame or air path. If the filter is non-washable, tap it very gently or use the supplied cleaning tool. If the bin itself is washable, wipe or rinse it only as directed and let it dry fully before reassembly.
Next, flip the robot over and check the main brush and side brush. Hair, thread and pet fur collect here first, and they’re one of the most common reasons a robotic cleaner loses pickup power or starts sounding rough. Most brands recommend using the included tool, tweezers or scissors to cut through tangles carefully rather than yanking hair out, which can damage bristles or end caps.
Then wipe the charging contacts on both the robot and dock. Dirty contacts can interfere with charging and docking, which is why some brands may include contact cleaning in their regular maintenance routines. A dry cloth is the safest default unless your own user manual specifies something different.
Finish with a quick sensor wipe. Use a clean microfibre cloth on cliff sensors, front sensors, camera windows or LiDAR covers, plus the bumper area. Roborock specifically recommends a dry, lint-free cloth for sensors, and dirty sensor windows are a common reason robots wander, miss rooms or fail to dock cleanly.
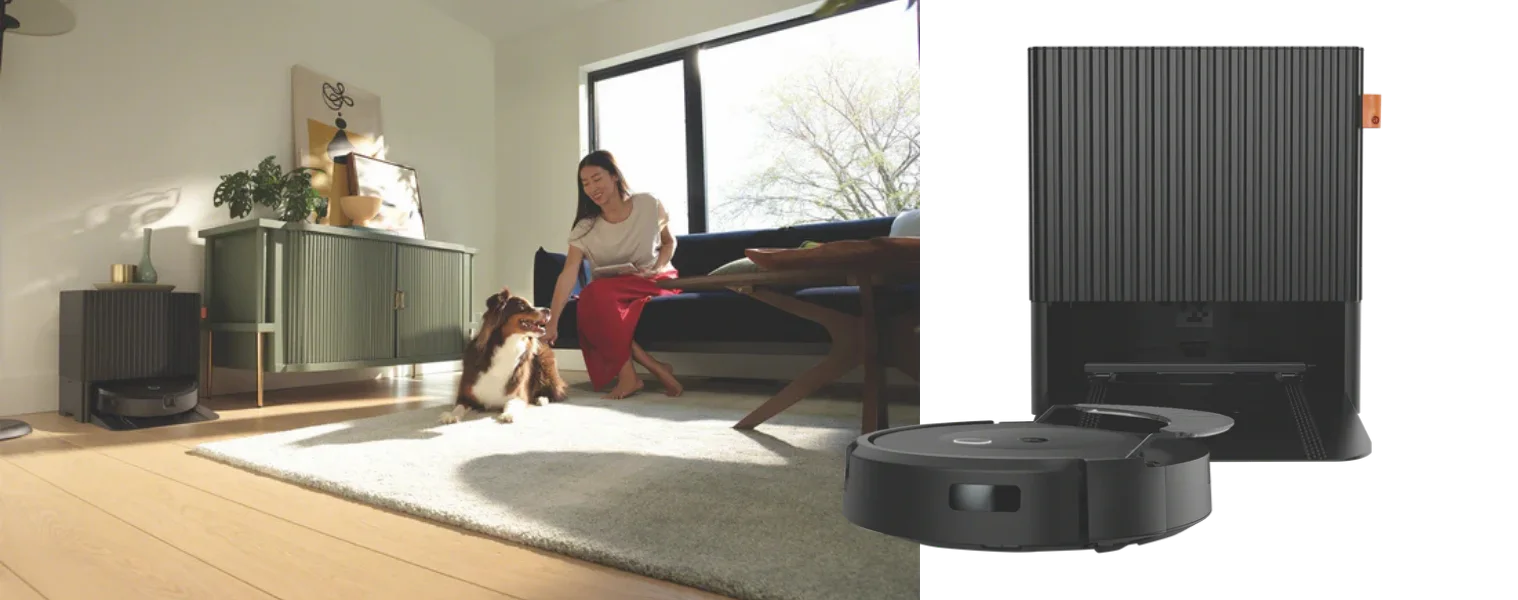
Pet-owner tip: if you have shedding pets or long hair at home, shorten the cleaning cycle. iRobot’s care schedules, for example, often double brush and filter attention in homes with pets.
Weekly Maintenance: Quick Deep Clean
Once a week, give the filter a proper check. This is where brand differences matter most. Some brands recommend filter care should be weekly, or twice weekly with pets, with replacement every two months. Others recommend cleaning the filter every two weeks and replacing it every three months on some models, while some suggest filters should be replaced roughly every six to 12 months. Check your manual for exact timings, but expect pets, carpet and daily use to push you toward the shorter end of the schedule.
Clean the brush roll from end to end, removing to clean if the model allows it, then inspect the end caps or bearings for packed hair and grit. Noise, drag or reduced brush spin often comes from debris hidden inside those ends.
Now move to the side brushes and wheels. Clean around the screw head, hub and bristles, then inspect the front caster wheel and drive wheels for hair rings and sticky dust. Some brands warn that a clogged caster wheel can damage floors, so this is one job worth keeping on schedule.
If you own a hybrid vacuum-mop, add the mopping system to your weekly routine. Remove and wash mop pads, empty leftover water from the tank, and check water outlets, seals and vents for residue.
Monthly or Quarterly Deep Maintenance
Every month, or at least once a quarter in lighter-use homes, do a deeper maintenance clean.
Remove the dustbin, brush assembly, side brushes, filter, caster wheel (always check your user manual first before trying to remove any parts) and any accessible covers.
TIP: Lay the parts out in order or snap a quick photo first so reassembly is easy!
Take extra care with sensors, camera lenses and LiDAR windows. These parts do not need heavy scrubbing; they need a gentle wipe that removes fingerprints and dust without scratching the surface.
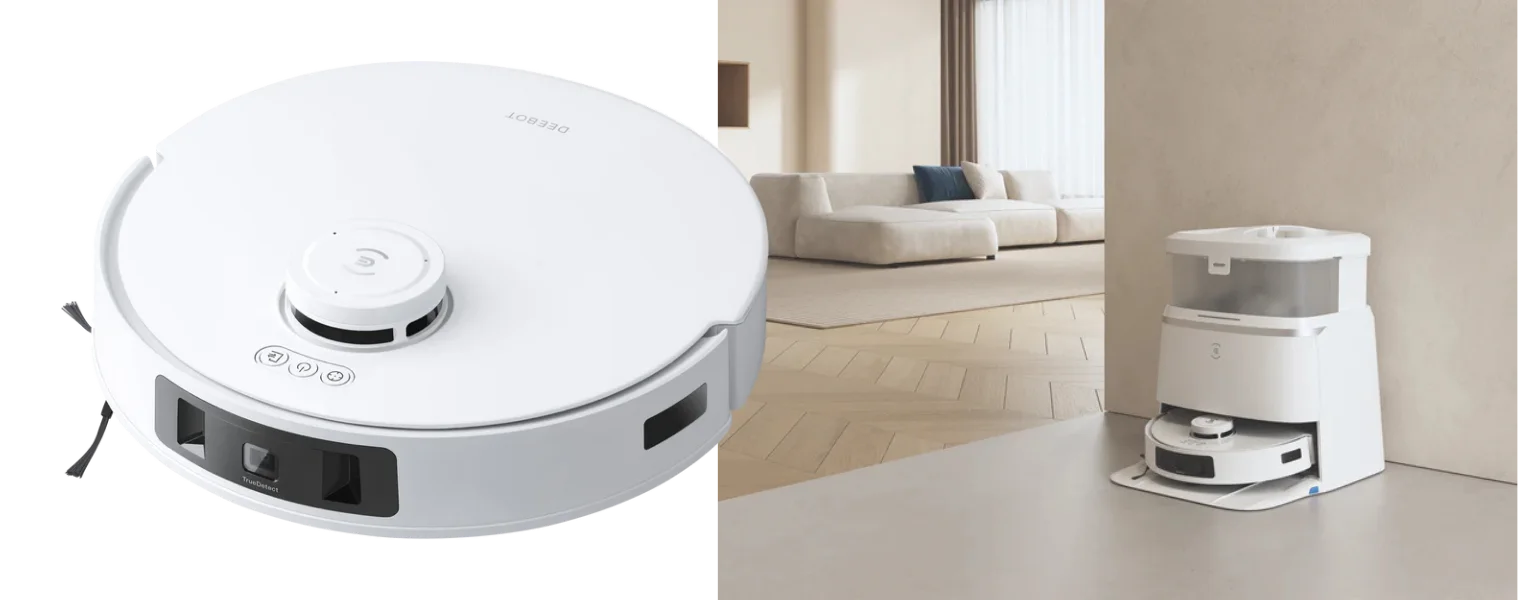
If your robot has a self-empty dock or all-in-one station, clean that too. Empty or replace the dust bag when full, wipe seals and vents, clear any duct blockage and check removable dock filters.
This is also the right time to check wear parts and battery health. Look for frayed side brushes, worn mop pads, torn rubber rollers, cracked brush covers, swollen batteries or terminals with corrosion.
When parts are worn, replace them rather than forcing a struggling robot through another season. The Good Guys lists robot vacuum accessories including filters, brushes, dust bags and mop pads for brands such as Roborock, Dreame and ECOVACS, on the website so it’s easier to verify the model and manufacturer part number before you buy.
TIP: If you are storing your robot vacuum - you may consider also recharging it every three months.
Troubleshooting Common Problems
Reduced suction or shorter runtime may points to airflow or battery issues.
Check the obvious first: full bin, clogged filter, blocked air duct, tangled brush, dirty wheels or a battery that no longer holds charge.
Navigation errors, missed rooms or random behaviour often come back to dirty sensors, a dirty dock beacon or stale maps.
Clean the sensors, wipe the dock’s front signal area, restart the robot and then check for firmware updates in the app.
Strange noises or stalling usually mean something is physically jammed.
Remove the main brush, side brush and caster wheel, then inspect the drive wheels for thread, toy stuffing, pet hair or grit. If the machine spins in circles, one wheel or the laser sensor may be obstructed. If it still sounds wrong after cleaning, stop and consult support for an authorised repair.
Mopping problems
If you see streaking, not enough water, leaks or lingering damp patches, inspect the pad first, then the tank, seals, outlet nozzles and dock tray. Some unauthorised cleaning products in the water tank may also block filters or damage the system. Be sure to consult your user manual to ensure you always use the correct cleaning solutions.
Water exposure
A robot vacuum is not a wet/dry vacuum unless the manufacturer states it is. Do not vacuum water with regular robotic models. Moisture can damage internal components. If your robot accidentally hits a spill, switch it off immediately, remove it from the dock, empty the bin or tank, dry every accessible part and do not restart until everything is completely dry.
You may also be interested in:
FAQ
Can I wash my robot vacuum filter?
Sometimes, but not always. Check your user guide manual. If you can wash your filters, most brands call for thorough air-drying before reuse, typically about 24 hours.
What cleaners are safe for robot vacuums?
The safest answer is the gentlest one: a dry or slightly damp microfibre cloth for the body and sensors, clean water for parts the manual says are washable, and only brand-approved cleaning solution in mopping systems where supported. Avoid random floor cleaners, alcohol or disinfectant in the water tank unless your brand specifically approves them.
How long should I let the vacuum dry after water contact?
For washed filters and bins, a full 24 hours of air-drying is a common recommendation. If actual water got into the machine, stop using it immediately and wait until every accessible component is completely dry before testing. If you suspect internal water damage, contact your place of purchase or authorised support before using again.
How often should I replace the battery?
A robot vacuum battery often lasts around two to five years, depending on battery type, home size, cleaning frequency and how well the charging system is maintained. Noticeably shorter runtimes, failure to hold charge or repeated return-to-dock problems can all signal that the battery is nearing the end of its life.
Will cleaning my vacuum void the warranty?
Routine cleaning should not, but always consult your user manual to ensure compliance. Most products expect owners to empty bins, keep brushes clean, wipe sensors with a soft cloth and replace consumables. Manufacturer warranty risk usually comes from misuse, liquid damage, unapproved solutions or non-authorised repair work.
Ready to join the robot vac revolution?
If you’re after the best robot vacuum and mop for your home, you’ll find it at The Good Guys. Don’t forget to check out the range of vacuums, cleaning products, attachments and vacuum deals that will help keep your home clean from top to bottom.